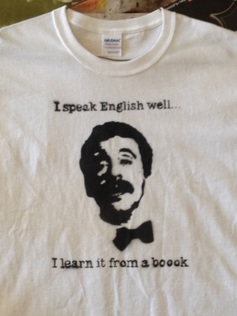
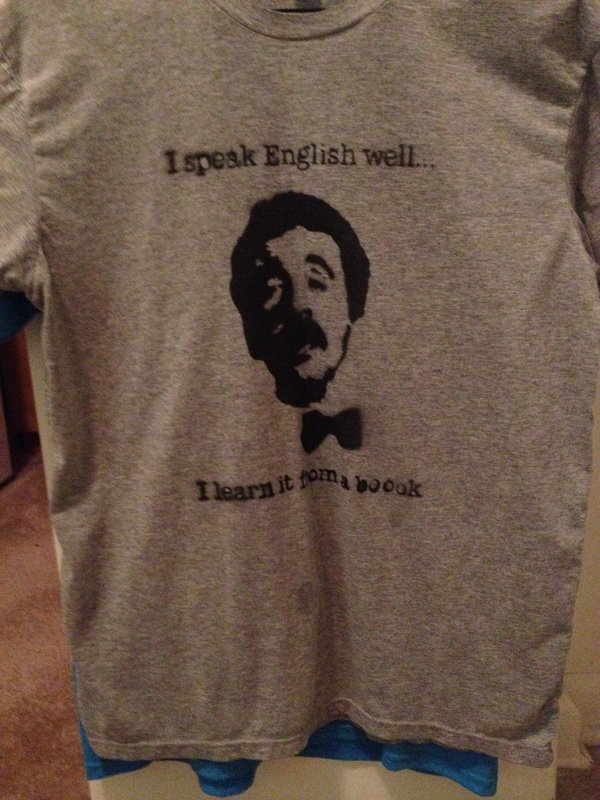
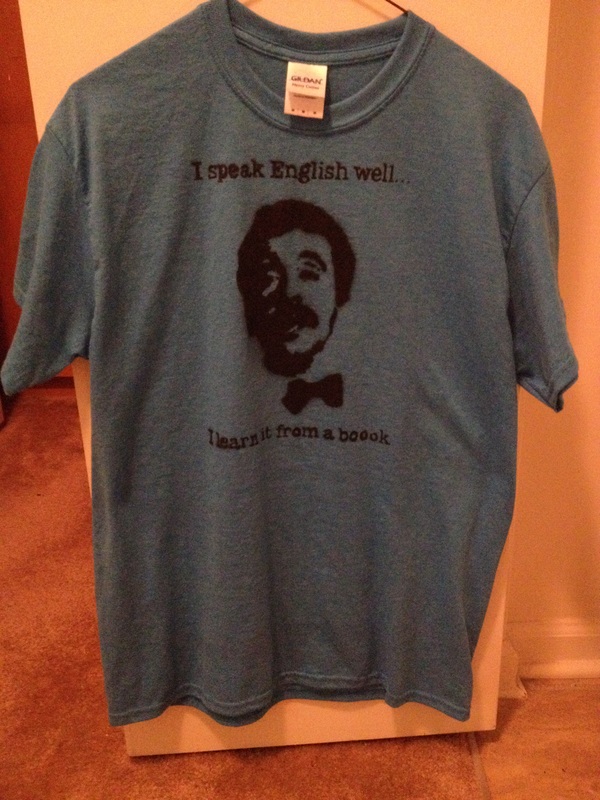
My husband and I are big John Cleese fans. In 1975, he wrote and acted in a British comedy called Faulty Towers. He played the role of a hotel owner and one of his stewards, Manuel, was from Barcelona and was still learning English. Their banter back and forth was very amusing and Manuel is a character we often quote. His one-liners still make us laugh when we quote them. We thought it would be fun to make t-shirts with one of his quotes and gift them to some of our family who also appreciate Manuel.
Basically, we took an image on the computer, turned it into a silhouette, printed it off, traced it onto poster board (or something slightly thinner), cut it out, and then spray painted the images onto t-shirts! This project is a bit time consuming, but the end result is worth it! I had Dan help me put together a step-by-step walk through to get you started.
**You will be working with Rustolium flat-black spray paint. To avoid intoxication from fumes, spray in a well-ventilated area or outdoors. You will also want to be where the wind isn't blowing too much. Wouldn't want all that hard work blowing away!**
Step-By-Step Walk Through
Once you have idea for what you'd like to stencil, browse for pictures you think might fit. Collect a cache of 8-10 pictures (the higher the resolution the better) and fiddle with them. You may find something unexpected that you like.
Most computer programs capable of manipulating pictures can turn them into a black-and-white suitable for stenciling. Every program offers unique tools, so play with them to find out what they do. You may want jot notes on your new discoveries so keep a pen and paper close, or record them in a word document. What's worse than wrestling with a uncooperative program is getting the blasted thing to work and forgetting how you did it.
My program of choice is PowerPoint because I'm too cheap for Photoshop. It doesn't handle fine details as well as other programs, but it does enough. Here are the basic steps for turning your picture into a black-and-white...
(1). Upload your picture and change it to gray scale (format picture - picture - recolor - gray scale).
(2). Open your toolbox and crop away what you don't need (toolbox - picture - crop).
(3). Select your picture and in the toolbox you should find an 'effects' tool. Click on it.
(4). Somewhere in the list of effects should be something called 'color control.' Within color control you will find 'saturation,' 'brightness' and 'contrast.' These three elements help shape your stencil. I mostly use saturation but a little adjustment goes a long way. When you adjust the saturation, you won't see hardly any difference in your picture at first.
(5). Go back to 'format picture' and change your picture from gray scale to black and white.
(6). If you like what you see, well done! If you don't like it, click 'undo' and repeat steps 3-5, experimenting with saturation, brightness and contrast.
It should end up looking something like this:
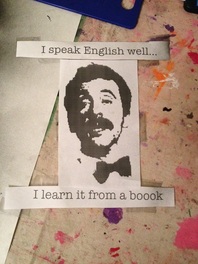
You don't need to do any of those special effects with the lettering. That is already set and ready to go, just add it before printing!
Size it to your desire and then print it out. Now it is time to make the actual stencil! There are a few options here in how you want to make the stencil.
(1). You could print the picture off on card stock and cut it right out of that. This would work only if your stencil is small. If you cut too much and don't leave a margin, you give yourself a higher risk of ripping the stencil and having spillover when spray painting.
(2). You could trace the stencil onto poster board (this is what we did) and then cut it out. This way allows you to have plenty of space to work with and when spray painting you lower the risk of getting any of the splash on the t-shirt! The easiest tracing method is to shine a lamp through a hard, clear surface so that the silhouette shines through the stencil material. We use our glass coffee table with a lamp beneath it and the silhouette and stencil material on top.
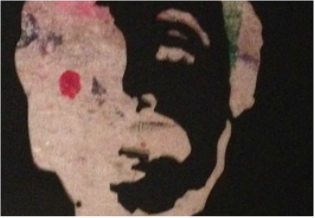
Now it is time to actually cut out the image. Here is where it gets a little tricky. With a utility or X-Acto knife, the goal is to cut out everywhere where the black is. If you look at the image above you can see that if I were to cut out the black outline of the head, I would be left with a large hole in the middle of the paper and all the detail inside of it would be cut out. This is where bridges come in. The picture below shows the finished cut out of our stencil (after we used it). If you look at the right image, you will see a small 'bridge' that connects the paper. Basically, find all the sections that will need those bridges to connect them and draw them in before cutting so you don't accidentally cut them off.
Dan and I have done this a few times, so we connected the large piece and then cut out the smaller part for the face and just carefully placed it before spraying each shirt. It is up to you how you want to go about it. The same goes for the lettering. All of the O's, B's, P's, E's, A's, and G's have holes in them. Instead of making miniscule bridges, we cut them out and placed a small piece of aquarium gravel in each spot. Again, it is up to you how you want to go about it!
Dan and I have done this a few times, so we connected the large piece and then cut out the smaller part for the face and just carefully placed it before spraying each shirt. It is up to you how you want to go about it. The same goes for the lettering. All of the O's, B's, P's, E's, A's, and G's have holes in them. Instead of making miniscule bridges, we cut them out and placed a small piece of aquarium gravel in each spot. Again, it is up to you how you want to go about it!

| 
|
Once the stencil is cut out and ready to go, lay out a drop cloth on a nice even, flat surface. NOTE*** it is oftentimes helpful to practice on cardboard first to get comfortable with your spraying technique. Once you're comfortable, place your t-shirt on that and make sure to work all of the creases out. Gently place the stencil on top and make sure it is perfectly flat against the t-shirt. Dan and I used some aquarium gravel to hold down and bits that were folding up so we weren't getting a lot of spray paint on our hands.
Take the spray paint can and start by holding it a ways away from the picture, doing short, light sprays at first until a thin layer is applied. Then you are able to start going a little heavier to make sure you get all of the detail you worked so hard for. NOTE*** Be sure to hold the can DIRECTLY ABOVE the stencil! If you bring it too close and angle it at all, the paint will get under the stencil and you will lose some detail!
Once you have a nice even coat of paint on the shirt (make sure you do mot make it too thick) carefully remove any weights you may have put on it, then gently remove the stencil itself. Voila! You have your first t-shirt! Hang it on a hanger somewhere to dry for about an hour where it won't be bumped or wrinkled. Once it is totally dry (when you're able to touch the paint on the shirt and it is no longer sticky at all) go ahead and turn it inside out and throw it in the dryer for about 20 minutes to help seal it on. Washing and drying the shirt inside out will help preserve the image over time.
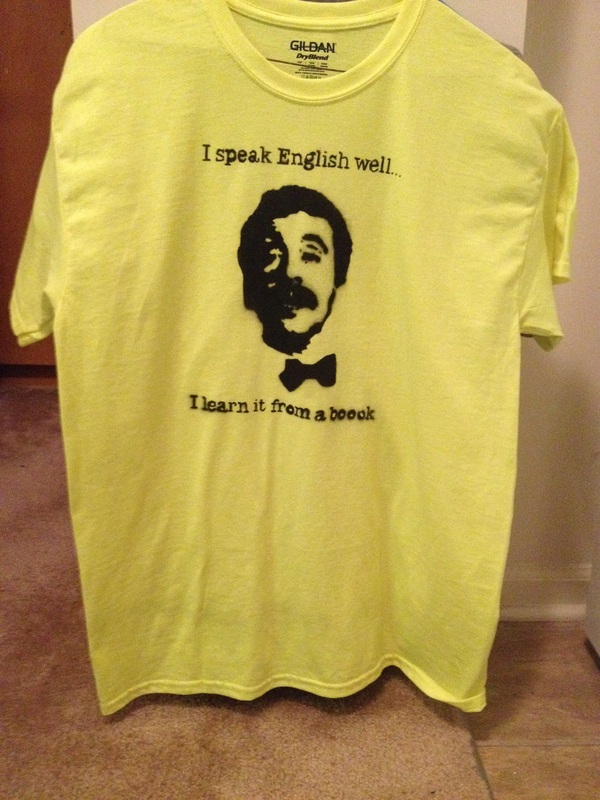
Repeat as many times as you like and with as many colors as you like! We kept the black paint, but switched up the color of the shirts.
Take the spray paint can and start by holding it a ways away from the picture, doing short, light sprays at first until a thin layer is applied. Then you are able to start going a little heavier to make sure you get all of the detail you worked so hard for. NOTE*** Be sure to hold the can DIRECTLY ABOVE the stencil! If you bring it too close and angle it at all, the paint will get under the stencil and you will lose some detail!
Once you have a nice even coat of paint on the shirt (make sure you do mot make it too thick) carefully remove any weights you may have put on it, then gently remove the stencil itself. Voila! You have your first t-shirt! Hang it on a hanger somewhere to dry for about an hour where it won't be bumped or wrinkled. Once it is totally dry (when you're able to touch the paint on the shirt and it is no longer sticky at all) go ahead and turn it inside out and throw it in the dryer for about 20 minutes to help seal it on. Washing and drying the shirt inside out will help preserve the image over time.
Repeat as many times as you like and with as many colors as you like! We kept the black paint, but switched up the color of the shirts.
| 
| 
|
 RSS Feed
