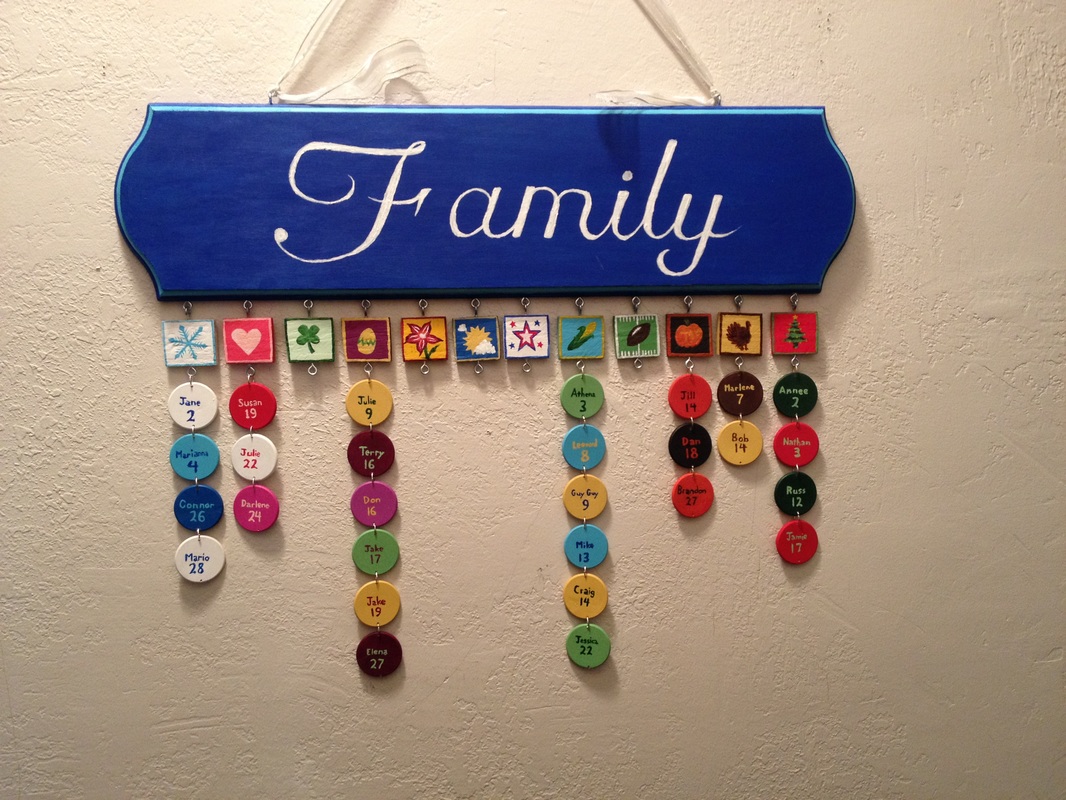
 | My mom has this amazing ability to remember all of her families birthdays without having to write them down. I am talking about immediate family and cousins, nieces, nephews, great nieces, close friends, and the list goes on. She tries to make it a habit to call them to wish them a happy birthday and talk for a minute or two. Dan and I saw this family birthdays calendar on Pinterest and both thought it would be something she would like. |
For this project you will need:
- Wood for the top piece (You can either buy a sign from a craft store like we did or cut your own piece of wood to the size you want.)
- 1 1/2" wooden discs (I am pretty sure you can get them at Hobby Lobby, but they were sold out every time I went so I bought them from Micheal's online and shipped them to the store.)
- Wood blocks for the months (You can use the discs above if you like. Dan and I cut a wooden yard stick into 1 1/2" sections. Our goal was to set the months more visually apart from the days by making them a different shape.)
- Paint (Whatever colors you like!)
- Paint brushes
- 1/16" drill bit and drill
- Jump rings (We bought 3/8" size)
- Eye Hooks (We bought 13/16" size)
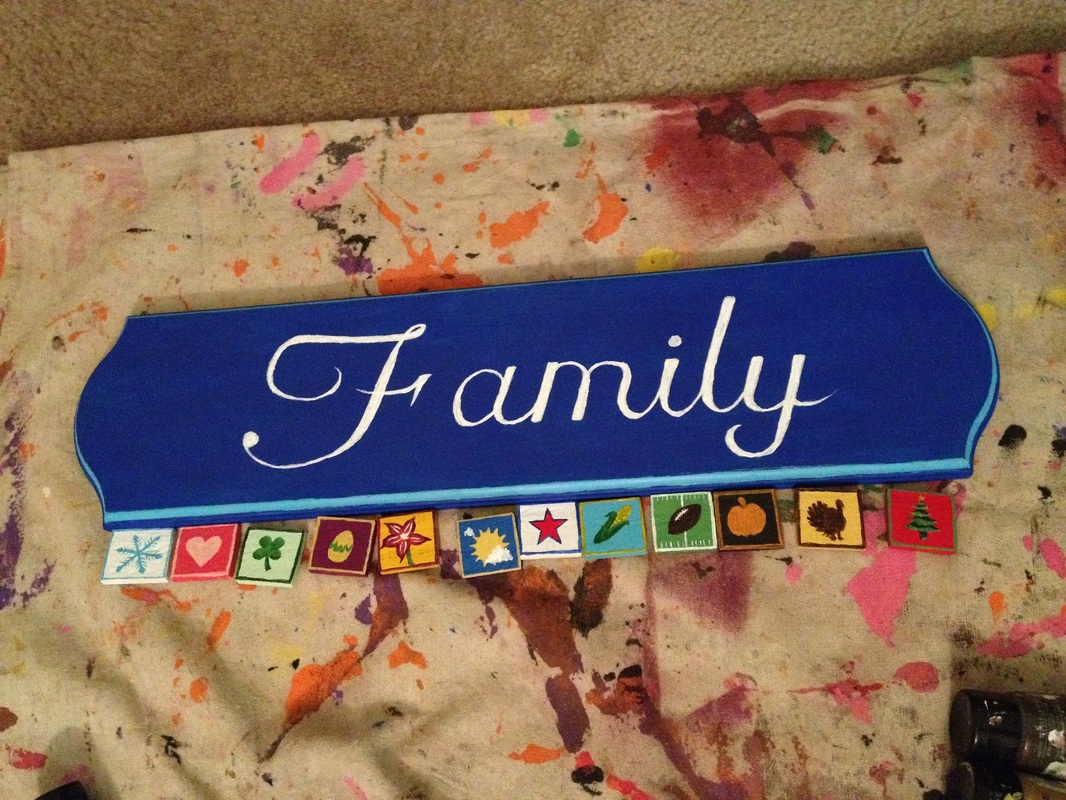
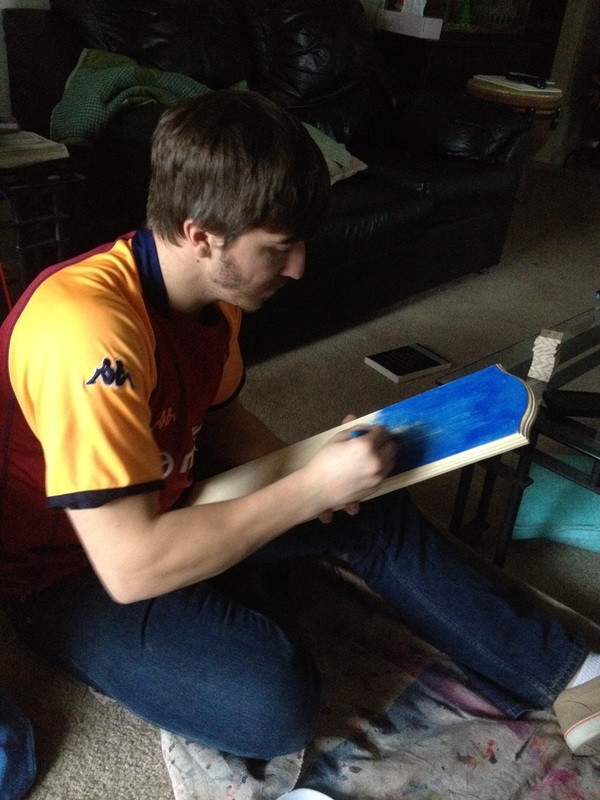 1.) Begin by painting your sign. Make sure to give it plenty of time to dry! | 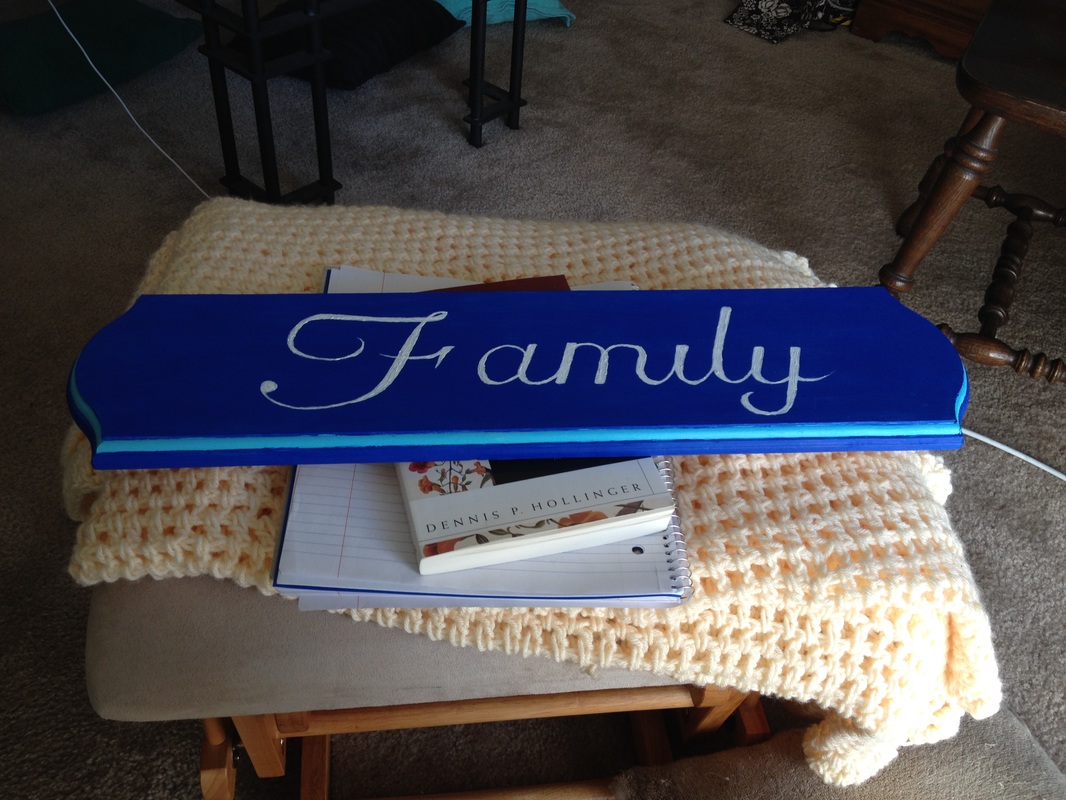 2.) Once you have the base coat down, add the wording on the top. Ours simply said "Family" but you can put "Family Birthdays" or whatever you like! |
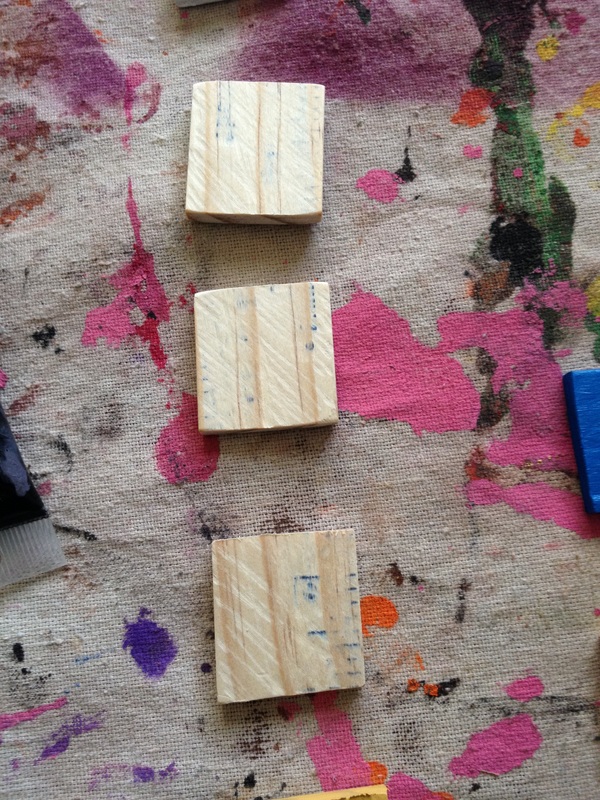 3.) Once the main sign is done it is time to work on the months. We cut a wooden yard stick into 1 1/2" squares and then sanded one side down. | 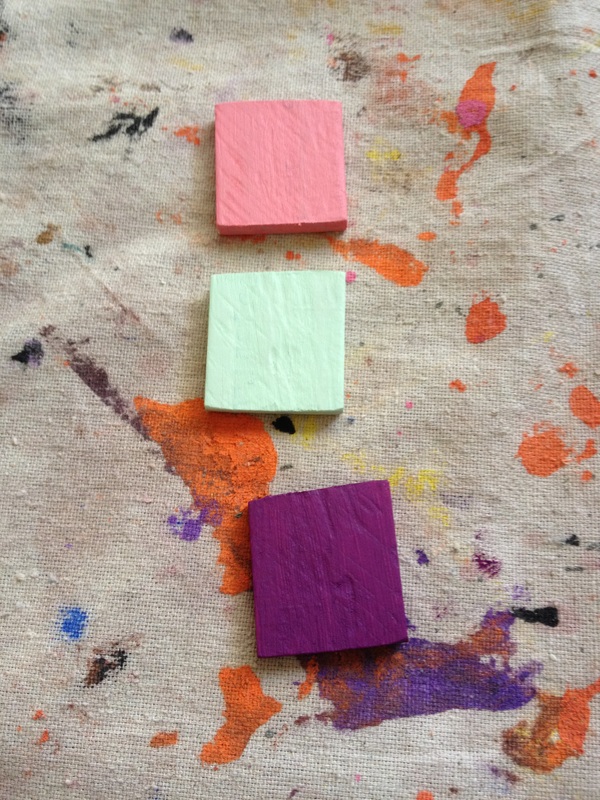 4.) Paint them! We tried to keep each background color to a theme for that month. Above is February, March, and April. | 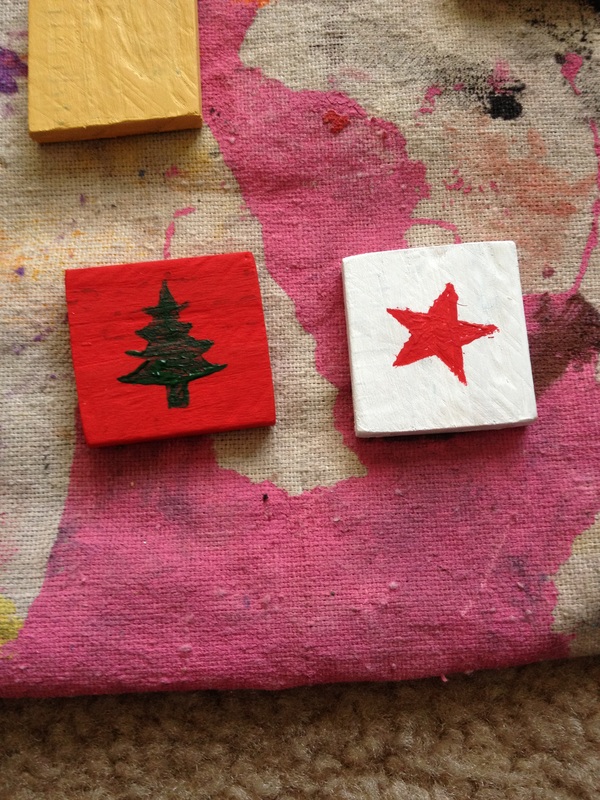 5.) Now it is time to decorate them! Dan and I decided to put logos on each month instead of the month's abbreviation. |
This was the progress so far. As you can see, Dan went and spruced up the designs on each month a bit more. Before the project was finished he went and touched them up again.
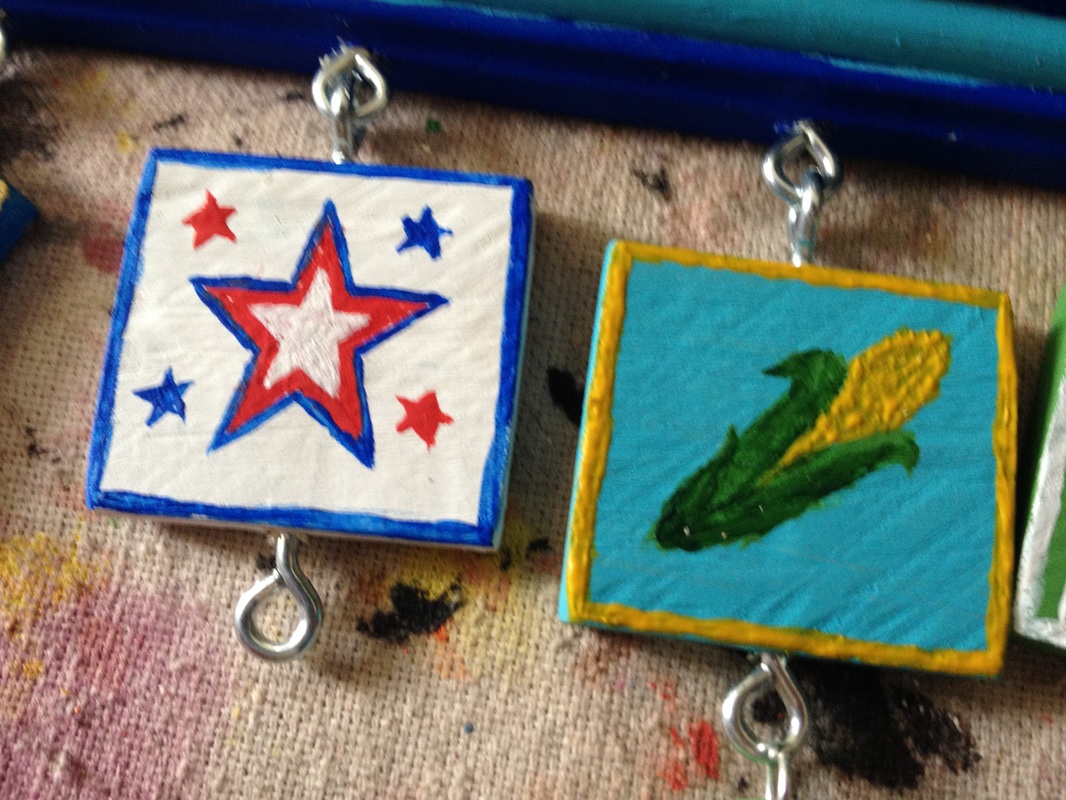 6.) Next put the eye hooks in place. You will need 12 for the top to connect the months. If you are using a thicker wood (like the yard stick we used) you will want to put eye hooks in them as well. If you are using the discs (same as the birthdays) you will go straight to drilling holes in them and putting in jump rings. | 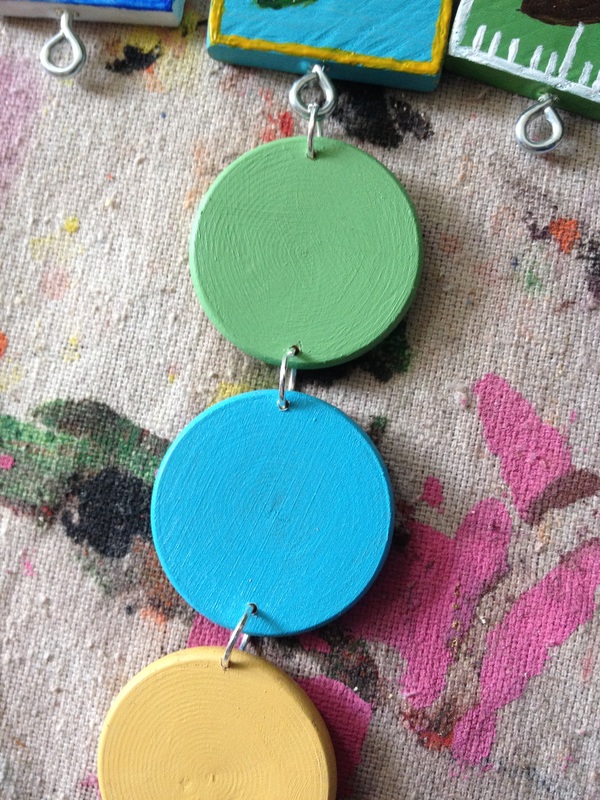 7.) This is how your discs should look after you paint them and drill the holes in and attach them. We tried to keep the colors of the days similar to the colors of the month they were under, but you can be as creative as you like! |
 Another look at the current progress! | 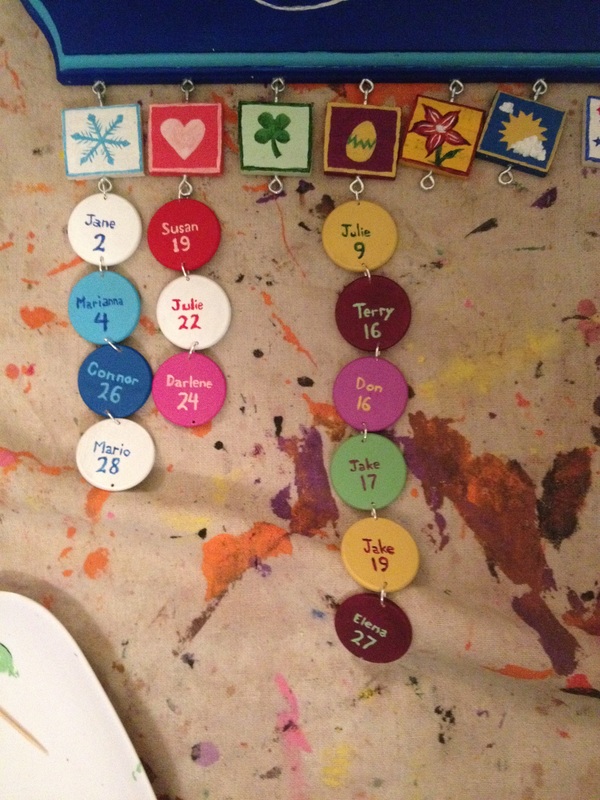 The final step is to add the birthday. We put the persons first name and day they were born on the front. We also considered putting their last name and the year they were born on the back. |
And there you have it! A wonderful gift for family or friends that you made yourself! A lot of people say that homemade gifts are special, and it's true! Giving someone a gift that you put that much effort and time into really shows them that you care. I hope you get creative and make one of these for your family! Let me know in the comments how you made it and if you did anything different!
 RSS Feed
