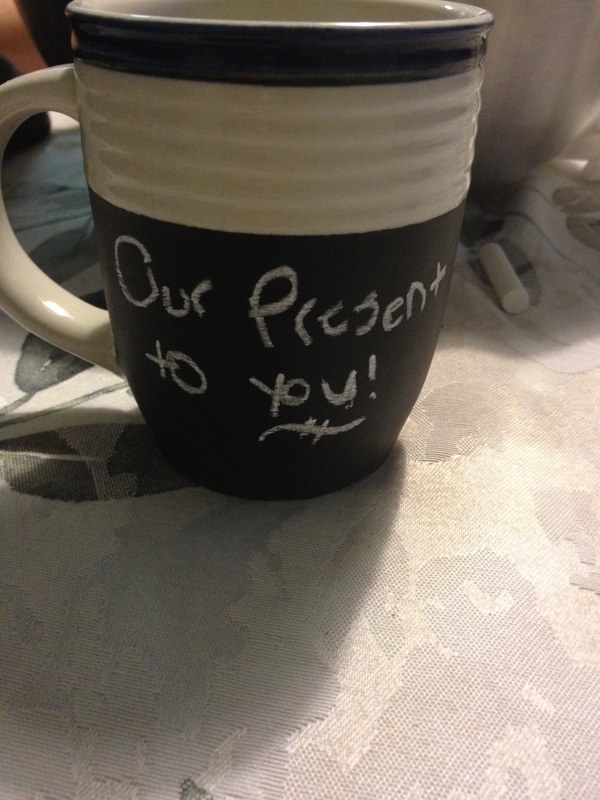
 | These mugs are super easy to make, relatively inexpensive, and completely adorable! Dan and I made them to thank some friends of ours and I was so pleased with how they came out. What You Will Need:
*I know there is a really easy way to make your own chalkboard paint, but this kind you actually bake onto the mug so it is dishwasher and microwave safe. The normal kind and the homemade kind are neither of those. If you are willing to only hand wash the mug and never put it in the microwave (I don't know what kind of fumes would come from it if you did that!) you would probably be okay with normal chalkboard paint, but this is a much easier, and safer in my opinion, way to go about it. You can purchase this paint on Amazon. |
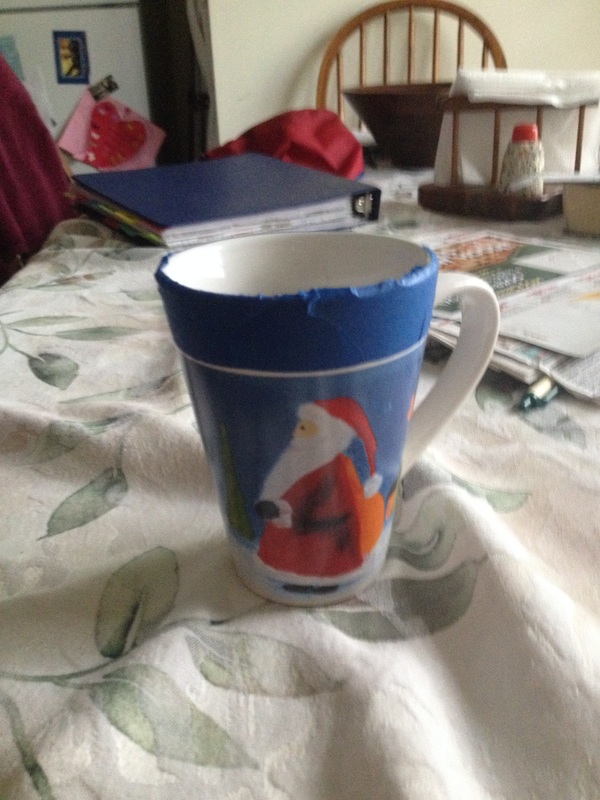 1.) Take the mug you want to paint and start by taping it off. You can paint as little or as much as you like! I recommend not painting all the way to the lip of the mug simply to avoid taking a sip of your beverage and tasting chalk instead. | 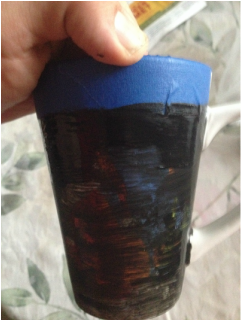 2.) Now get that first layer on! It will look something like this; not very thick and a little streaky, but don't worry. Give it a few seconds to dry (it dries very fast!) and then add another coat. You may need to do this a few times to make sure you get it all evenly. |
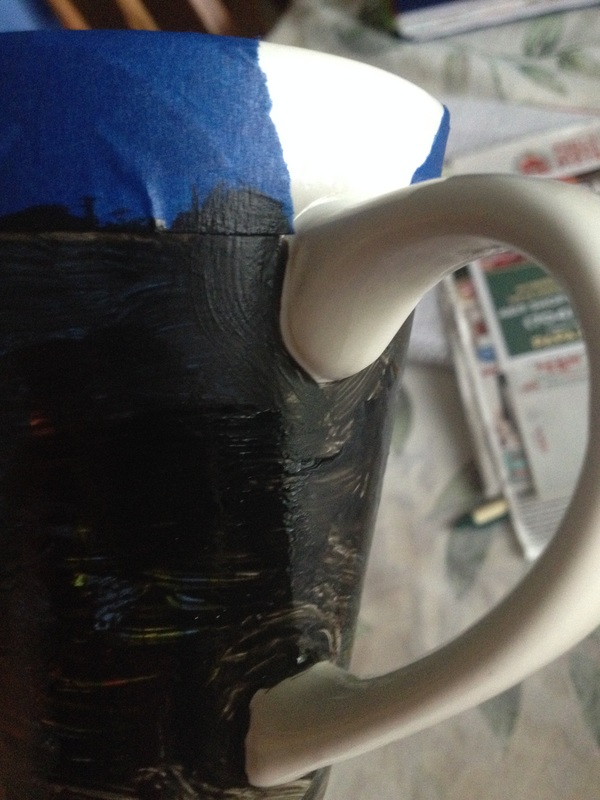 Dan and I didn't tape around the handles, we just made sure to be careful not to get paint on them. It turned out much easier than trying to tape them off. | 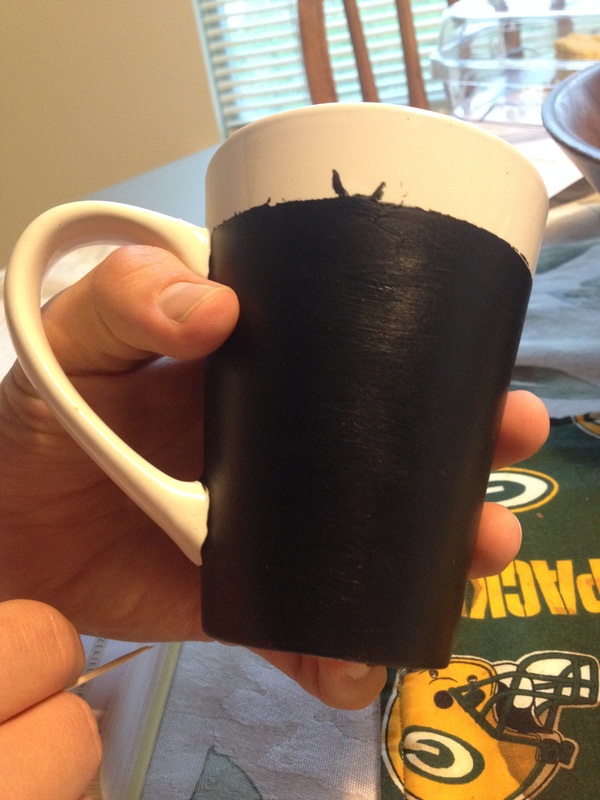 3.) Once you have put enough coats on, remove the tape and set the mug aside so it can dry for up to 24 hours. This is how it should look once it is dry! |
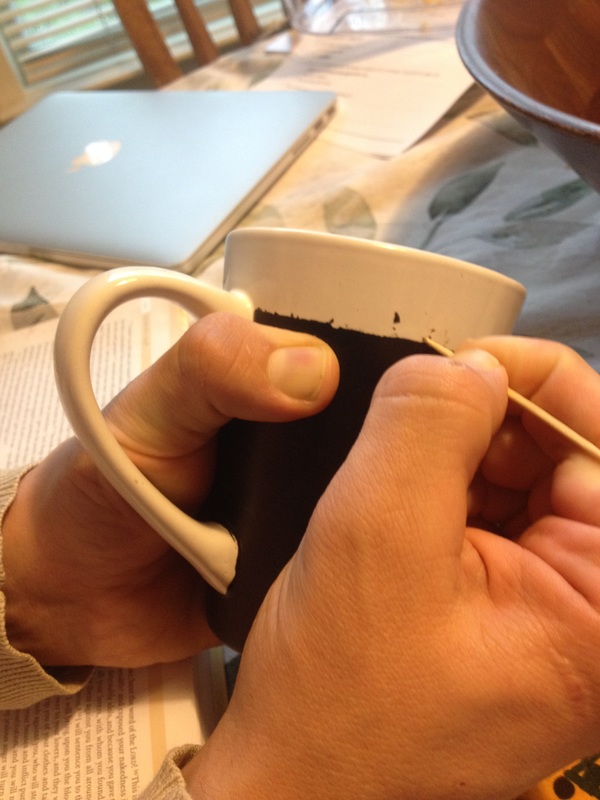 4.) Take a toothpick to scrape off the bits of paint that made their way under the tape. After you are satisfied, you can bake the mug according to the directions on the little bottle of chalkboard paint. Allow them to cool completely in the oven before taking them out. | 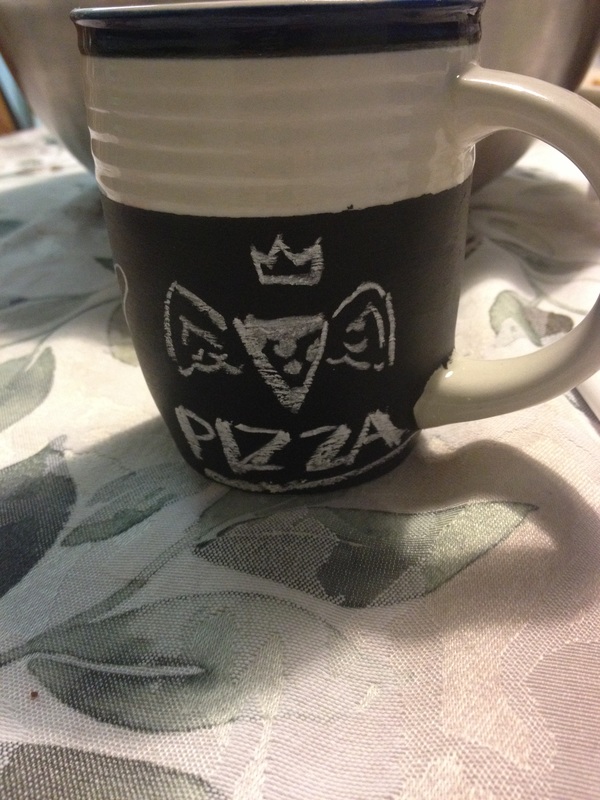 5.) Once the mug has been baked, take a piece of chalk and rub the ENTIRE surface of the mug with it. (This primes the chalkboard paint so when you draw on it you don't get lines that become seemingly engraved in the paint forever.) Let it sit for a few minutes then wipe it clean with a damp cloth or paper towel. Now you are free to enjoy your new mug! |
A few things to note when making these:
- The bottle of paint is VERY small. They are 45 ml each. Dan and I had to make 19 of these mugs so we were worried that one bottle wouldn't be enough. We were wrong. Not only did one bottle cover all 19 mugs, but it also lasted through touch ups AND we still have a little left over!
- The mugs touch up wonderfully! We would notice some that, after letting them completely dry, we could see the design behind the paint, or we saw thinner spots. We experimented on one mug to see how touching them up would turn out, and it comes out great! After we let those few spots we repainted dry, you couldn't tell where we had made the touch ups at all!
- Keep in mind that if you do make any touch ups, try to make them before baking the mugs. Otherwise you will have to bake them again to seal that new paint on.
- To get the most out of your paint, apply thin layers. Globbing the paint on to make it cover quickly will cause you to run out of that little bottle much quicker than you think!
 RSS Feed
